Metroid
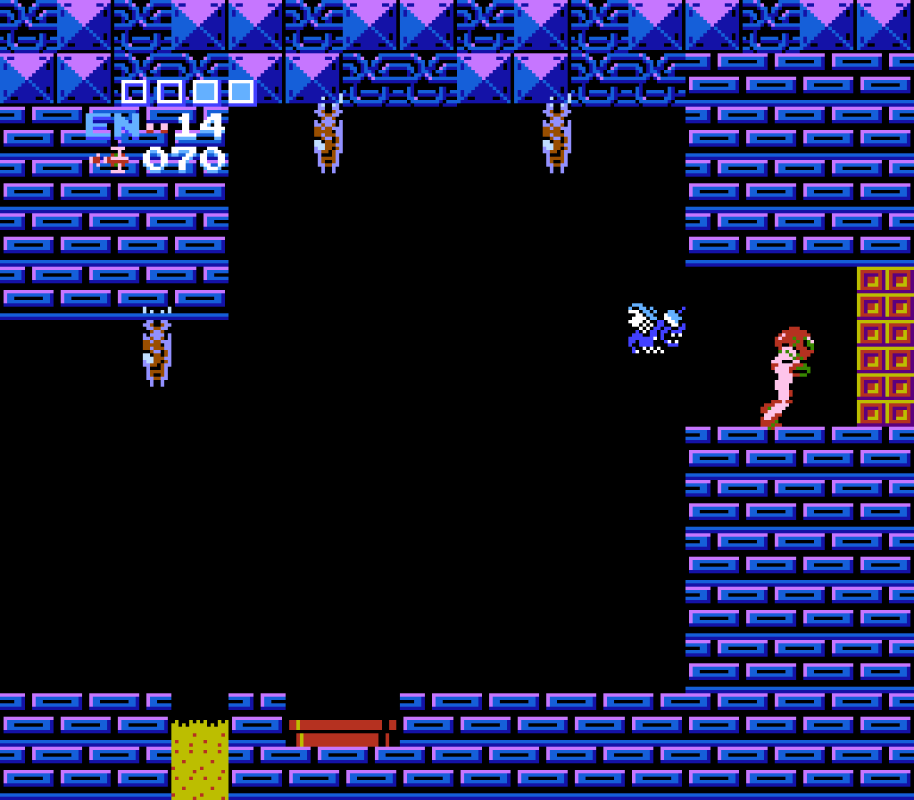
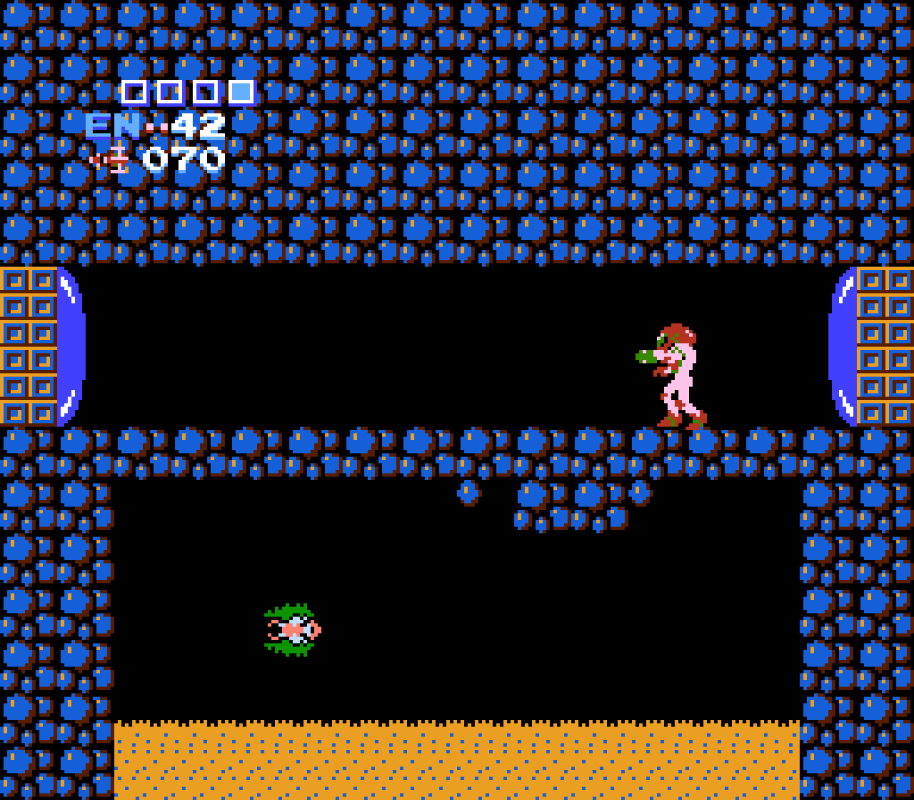
There’s a clear sharpness to the overbearing limitations of Metroid’s combat that’s visible from the outset: Samus’s forward shots are fired one tile above the ground, making them unable to hit enemies on the same ground as her; until obtaining the morph bomb this makes grounded enemies an undefeatable hazard that can only be avoided until they slowly drag themselves up a wall, and afterwards are an extreme time and timing commitment to defeat: morph, line up the bombs to go off just as the enemy walks close to them, and then move away from the bombs to avoid being knocked back by the blast, all while potentially being harassed by other airborne threats. This allows even the most basic enemy type – that which does nothing but move slowly across the floor – to stay engaging throughout the whole game, even getting their own time to shine in Norfair where claustrophobic platform placement both allows multiple means of dispatching them and give them many avenues of creeping up and threatening space. While not all so lovingly-utilised as the grounded enemies, many other enemy types still interact strongly with Samus’s toolkit limitations – or simply with each other and their rooms’ terrain – to create challenges with interesting pushback and responses. The ceiling-hopping enemies that show up in many of the game’s deeper areas are another clear winner as their erratic horizontal movements and high health make them tricky to line up a vital missile shot, and the intentional movement needed to defeat them cleanly is often thrown off by their placements in areas with little safe terrain to work with or with other enemy placements that work to punish those specific movements; and the common fast-respawning flies and beetles create a unique dynamic as the health or missile pickups they drop block them from respawning, so dealing with them forces either very specific movements to misdirect their flight or intentionally moving past their very useful resource drops.

Combat-augmenting upgrades follow a similar ethos in how they become defined just as heavily by their limitations as they do their strengths, a dynamic that shows particularly strongly in how they relate to each other: collecting a new beam upgrade replaces the previous one rather than stacking their benefits as to contrast their wildly different strengths and weaknesses. Picking up the Ice Beam immediately feels something of a tradeoff to even the basic shot as only the shot that unfreezes an enemy deals damage which makes killing enemies take longer, but the freeze adds a lot of flexibility to combat and navigation. Not only can enemies be frozen for use as platforms in the few times where necessary, but also to either line up an instant-kill missile shot or just to move past them safely; perhaps the most useful specific use-case is simply being able to freeze the respawning flies to disable them rather than having to take a different approach. Upon finding and swapping to the Wave Beam, all of those advantages are immediately dropped, with utility being massively reduced but in exchange for raw killing power: not only does it dispatch enemies much faster than the Ice Beam, but both pierces through terrain and has a large sweeping width that even reaches enemies on the floor, finally negating the need for cumbersome bombing and generally making sweeping through enemy packs far easier – much more helpful than the slow and methodical Ice Beam for the later enemy-dense sections. Both beams are clearly better in particular situations than the other, with swapping between them throughout the game highlighting not just the strengths of the one equipped, but the situations now made harder from losing the one swapped out. This dynamic is of course somewhat undercut by the overcentralising power of the Screw Attack, though it’s not only one of the most well-hidden secrets in the game but also comes with its own set of restrictions: being locked behind the most imprecise mode of jumping being unable to land on grounded enemies as well as struggling in tighter areas with ceilings low enough to block a complete jump.
Perhaps the biggest elephant in the room is the extreme punishment for dying – respawning with only a pitiful 30 health regardless of the amount of energy tanks collected; combined with the only ways to heal either being the one-off heals from picking up one of the limited energy tanks in the world or from collecting randomly-dropped health pips from enemies, it can often lead to feeling the need to farm enemies for healing as 30 health can feel just too small to leave any real leeway for mistakes. Despite feeling the need to farm health at points in both of my playthroughs – and the frustration of having to do so – having such a punishment feels necessary to preserve the balance of the combat: respawning with too high health would allow blitzing through each level’s challenges with little care after gaining enough max HP as enemies across the board deal little damage individually, even in the deepest reaches of the world – likely due to the world being so open-ended that every area can be reasonably accessed with tools available in the earliest sections of the game. Yet while having such a harsh punishment feels important as such, equally having the respawn HP feel unreasonably low for certain areas comes off as an inelegant solution, as putting the onus on the player to farm a level of health back that they feel they need as opposed to curating it more directly and carefully likely often leads to farming a lot more health than is actually necessary to avoid dying and having to do it again, further (and likely subconsciously) exacerbating any frustration that comes from its repetitiousness – with the only balancing factor being that the process can take long enough to encourage moving on feeling underpepared anyway, just to get it over with.
Though combat is of course only one part of the experience, with exploration being what propels the vast majority of progress. Macro-level navigation of the game world – moving between areas to explore or utilise new upgrades – is a surprisingly quaint affair despite the lack of a map or any navigational aid due to to the small size to the world, with the location of most suspicious landmarks or inaccessible paths feeling reasonable to mentally map the vague location of, and finding a specific room in an area usually being rather breezy thanks to their compactness. Broader navigational challenges instead stem from the differing characteristics between each area's layouts: Brinstar’s straightforward hallways connected via copious empty space and exhaustingly-tall vertical corridors heavily contrast with the neighbouring Kraid’s Lair consisting of claustrophobic rooms that constantly twist back on themselves to an extent that begs the question if the area even has an end point at all. But many of the game’s harshest navigational demands – which the absolute strongest upgrades are hidden behind – come from uncovering obfuscated passages hidden behind unassuming bombable terrain. “Bombing random walls” has perhaps understandably become a common pejorative aimed at the series, but while it can easily be a pain point early on here, there’s a clear and consistent design language behind this entry’s placement of bombable blocks through its use of repeating room layouts: a bombable block in one room will be in the same place in every place that room is repeated. The early sections of Norfair telegraph this idea via corridors being consistently blocked off by identical giant alien walls that can be bombed into the side of to move through -- before this area built around finding and intuiting bombable walls then reveals what's likely the game's most obtuse mandatory challenge of finding the single bombable tile that leads deeper into the area’s depths. The reward for solving this is not only access to one of the game’s major bosses, but the game’s most defining upgrade hidden within an entire labyrinthine puzzle area of hidden block rooms winding into repeating bombable block rooms full of dead ends and misdirecting repetition; the game's strongest and most exciting area that could only be built by expecting that understanding how to reach it would have led to developing a full understanding of the design language that’s needed to navigate such a place.
It seems like such a heavily knowledge-driven game, one where knowing key locations and how to reach them is more of a driving force for progression than the movement boons of the upgrades themselves, would lose its intrigue through multiple replays – but that doesn’t feel the case at all. The highly-important, yet perhaps a little mundane, statistical upgrades of missiles and energy tanks are placed in a way as to be found incidentally whilst combing the map in search of the core progression-driving upgrades, so knowing the location of the mandatory upgrades can easily lead to beelining towards them at the cost of accidentally avoiding those auxiliary statistical upgrades. This is the game’s way to meet you at your own level: knowledge and experience make the game faster, easier and less confusing, but chasing that speed by rushing between key upgrades keeps you with low max resources during those harder later sections in order to keep the depth and decision-making of the combat central to the experience – the logical conclusion then being to learn the world so well that necessary missiles and energy tanks can be routed in, with the latter even being able to double as intentional full heals to stave off the punishment of death, keeping that sense of developing map knowledge core to the experience even throughout multiple plays.
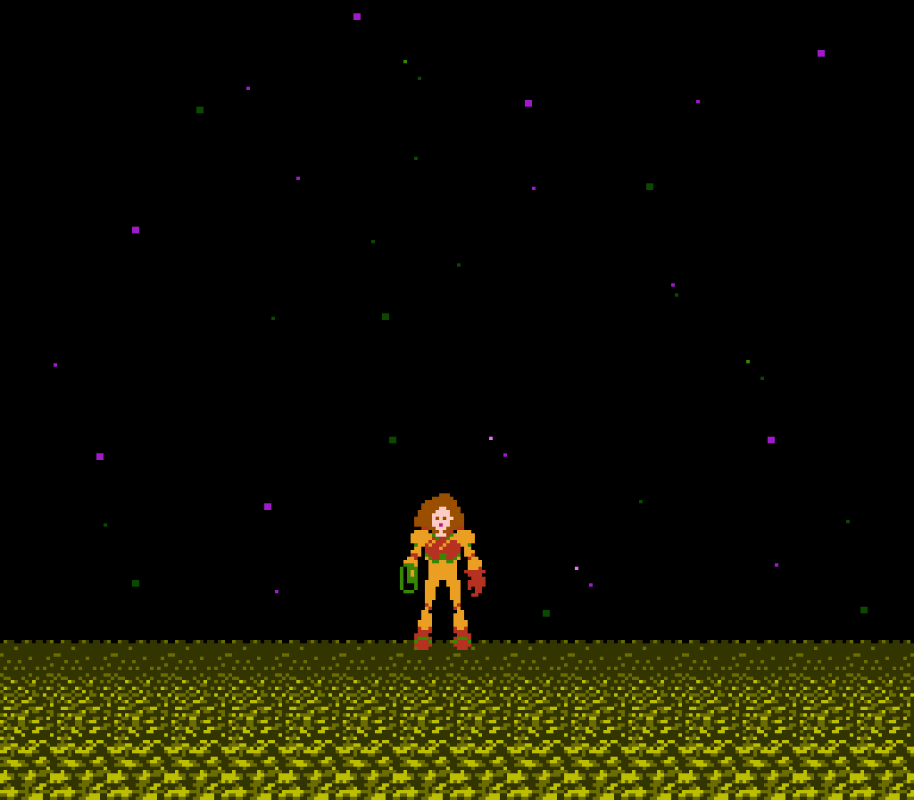
~*ʚїɞ*~
Thank you for reading, as always. Metroid is a really interesting game to experience after its successors, since so many ideas that feel sort of vestigial or awkward are implemented very gracefully here: the Morph Bomb both in its combat function and usually-intuitable wall-bombing are the main things that stick out to me. It felt a little out of scope to touch on that, but the first time I played this game and saw the genuinely well-considered use case of the bomb I was like… woah. We’ve really done ourselves a disservice by transforming it into a glorified block breaking tool in every game since! Having to use it in Fusion as purely a tool to open clearly-obvious critical paths or to reveal the weapon I was actually supposed to shoot the block with made me feel really cynical about it all.
I really do wonder how differently this game would flow if there was just a liiiittle extra health bonus per energy tank on respawns……
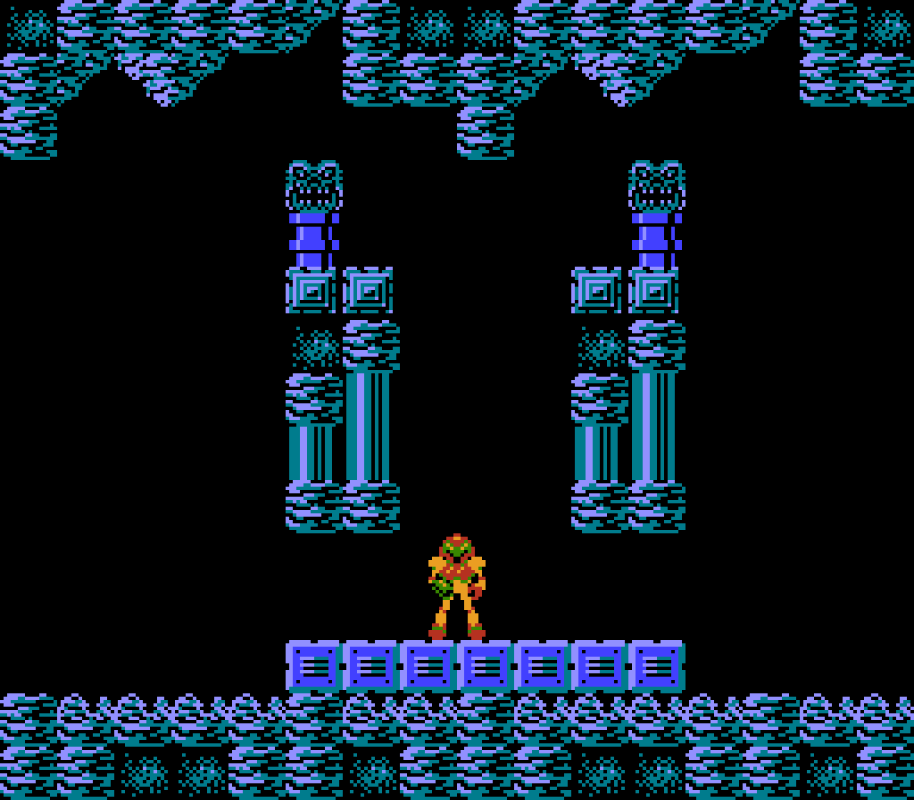
I didn’t get to talk about it with this being such a Game Design-focused piece but I really love the aesthetics of this one as well. The lonely, alien bio-mechanical horror is pulled off so well thanks to both the empty dark background against the abstract, often vibrant hues of the world, and the contrast of Brinstar’s heroic opening theme with the much starker and more ambivalent soundscapes of every area that leads off from it – Kraid’s Lair being my personal standout. The FDS version enhances the feel of it a lot through giving enemies different hit-sounds, with the Metroids themselves being a particular standout. (I think the FDS version is an overall nicer way to play the game!)
I was a little worried that I’d fall out of love with this game on a replay, but it still sticks the landing so well. After spending the past three months playing arcade games that are so wildly out of reach, there’s a silly little irony in coming back to Metroid 1, widely considered oppressive and inscrutable video game, as a comfort thing to keep me from feeling too terrible at games. Honestly, I really don’t think this one’s that tough! I think the only real snags are that a couple of the navigational challenges really are uncharacteristically well-hidden, and the most obvious area to go after getting the bomb is Kraid’s Lair, which is, like, easily the hardest area in the game. Other than that… it’s tough but very, very doable. As much as I’d like to be, I’m not, like, impressively good at games, but maybe being able to pull this game out and beat it in an hour or so could be a cool-looking party trick... :p I’ve lately been developing a really strong respect towards early NES-era Nintendo, since everything I’ve been playing of theirs feels difficult but not overwhelmingly so while having a really strong design identity. I think I probably ought to keep exploring their early output a bit more.
As usual, if you like what I do and you’d like an easier way to follow it, you can use the RSS feed to keep track of updates to the site itself. Next piece won't just be a straightforward review, pwooooooomiseee. Love you all. See you next time. ~♡